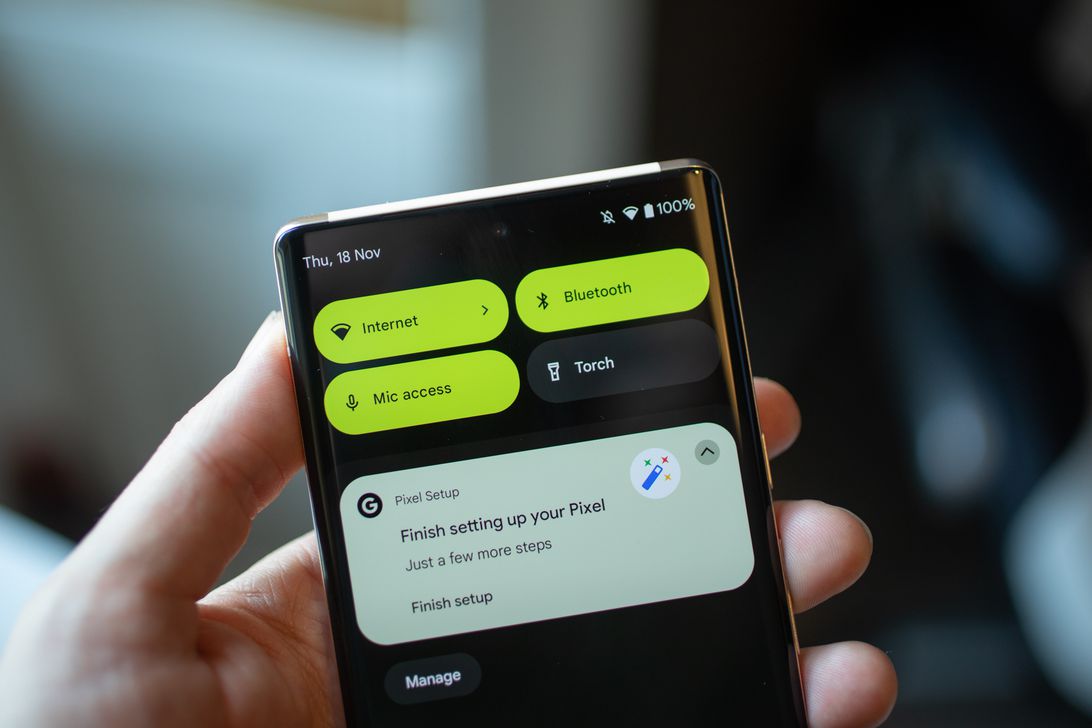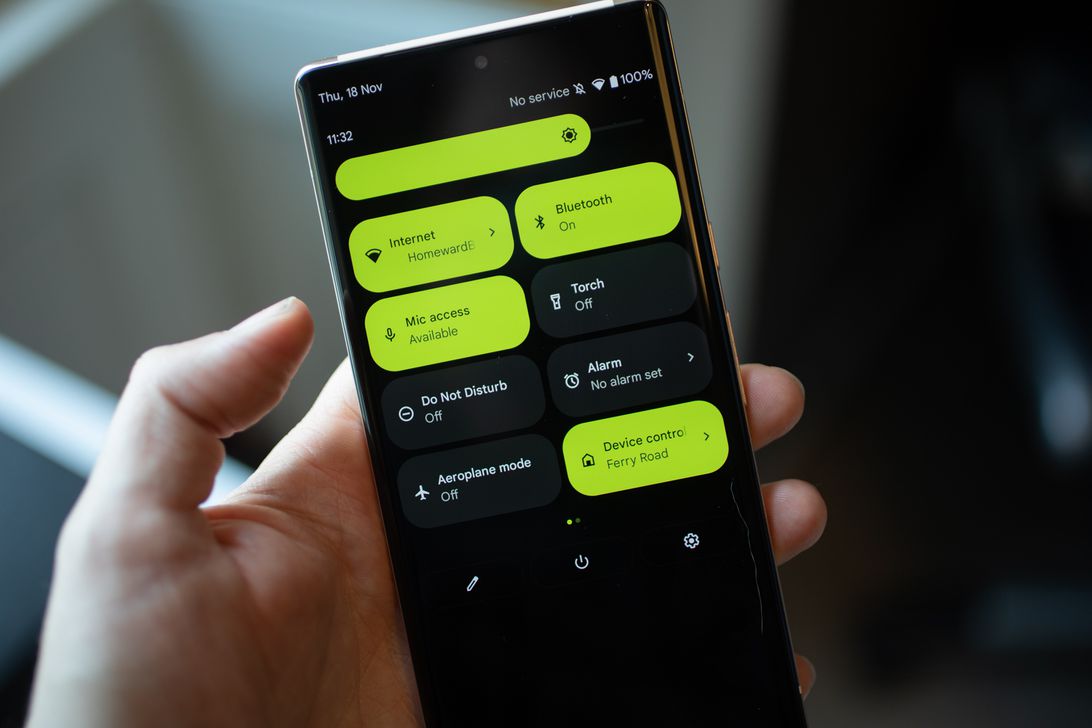
Android 12‘s quick settings menu lets you adjust important settings like Bluetooth, alarms, Wi-Fi and Do Not Disturb — all with a single flick of your finger. Just swipe down from the top edge of the screen.
Although this menu is designed for convenience, it’s so packed with settings that it can get confusing. And on top of that, you’re presented with a whole bunch of settings you can choose to add. As a result, the quick settings menu can quickly go from handy to overwhelming.
Here’s how to customize and rearrange the settings tiles so the menu is easier to use. We’re using the Pixel 6 Pro, but the process should be the same for any phone running Android 12.
First, drag down from the top edge of your phone to pull down the settings menu. You’ll see the first four settings at first, so pull down again on those settings to expand it.

Andrew Hoyle/CNET
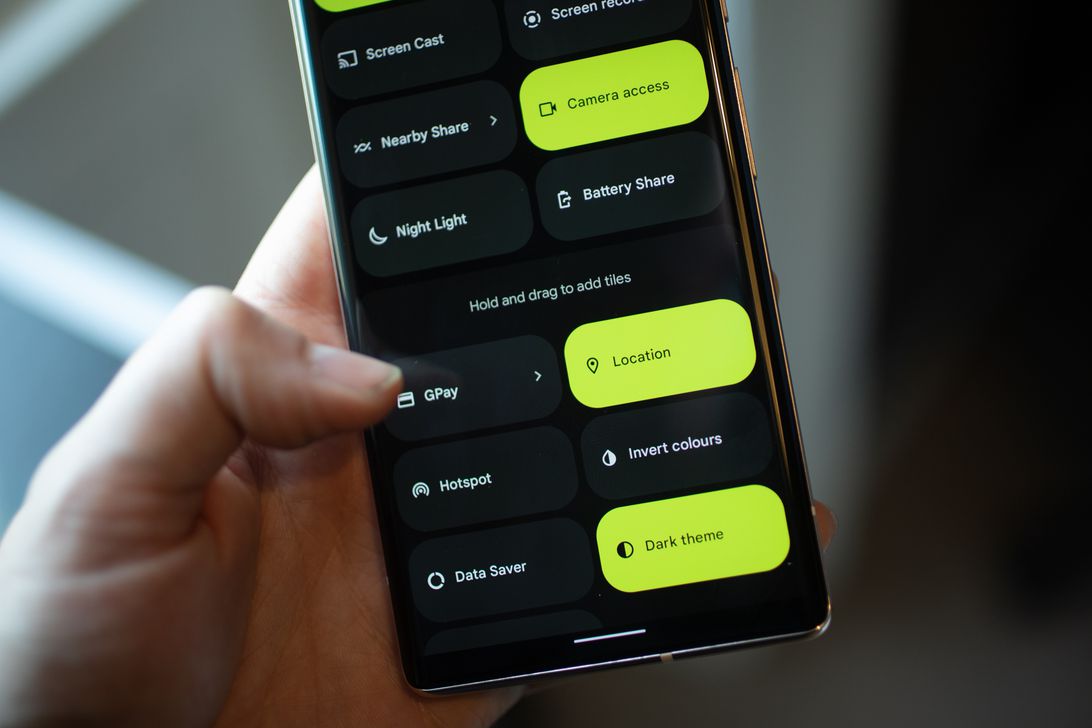
Now you’ll see more settings icons, but you’ll also see a small pencil icon underneath them. Tap that and the list will expand to show all of the available icons. Now you’re able to tap and hold on individual tiles and move them around into an order that makes more sense for you.
But you can also drag them further down and remove them from the quick-access menu. If you never use Google Pay or Invert Colors, for example, it would make sense for you to remove those from your list to clean it up and make it easier to see the tools you do need.

Andrew Hoyle/CNET
But you’ll also see other tiles that might not already be in your quick settings menu, and you can tap, hold and then drag those up into your list so they appear when you swipe down. Remember that the four settings tiles at the top will be the ones that first appear when you swipe to open your menu, so make sure that your most-used ones appear here.
Once you’ve rearranged the tiles exactly how you want them simply swipe up to close the panel and you’re all set.
Discover the latest news and best reviews in smartphones and carriers from CNET’s mobile experts.